es
es en
en fr
fr pt
pt it
it
Shopping Cart
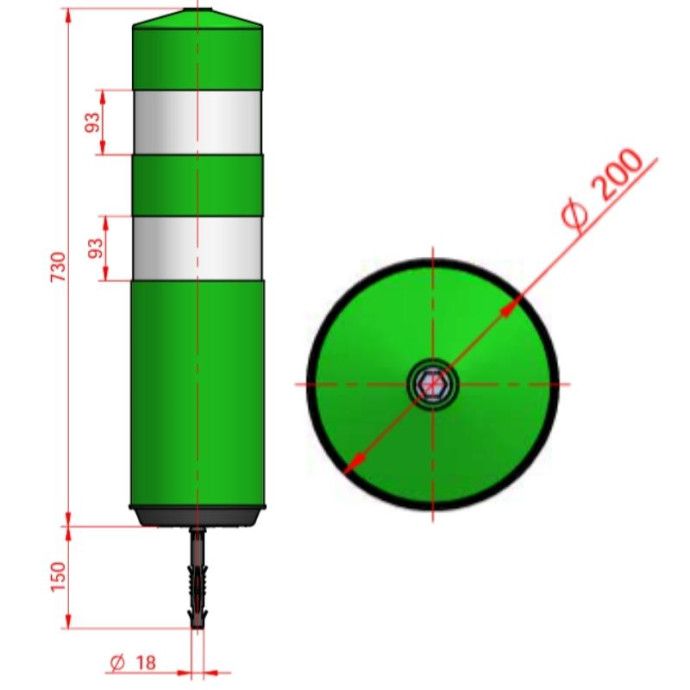
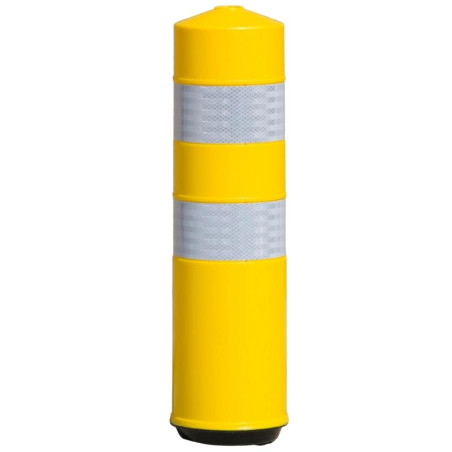
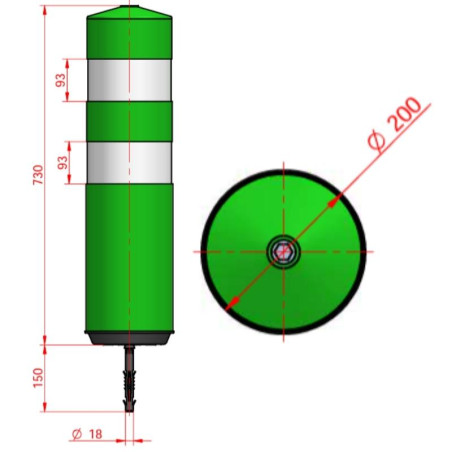
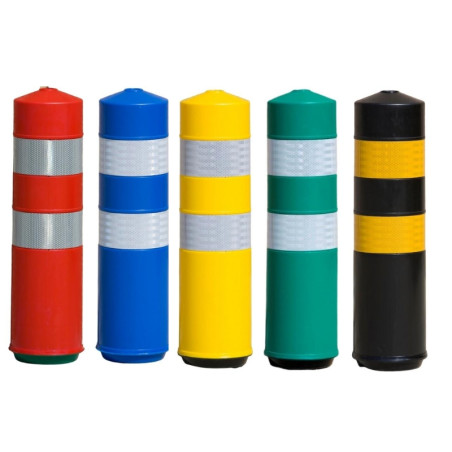
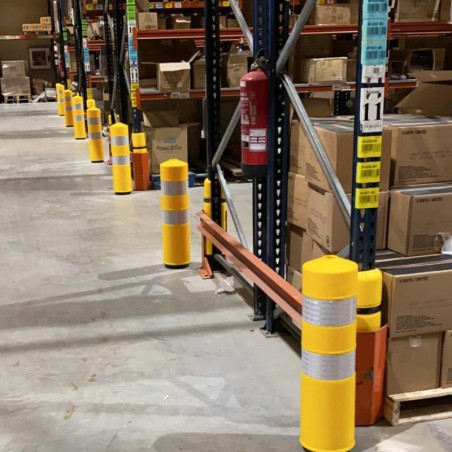

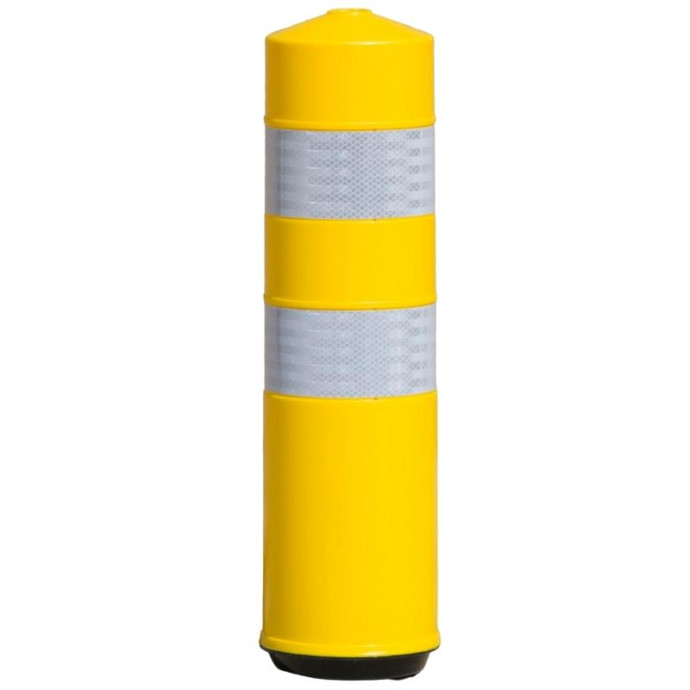
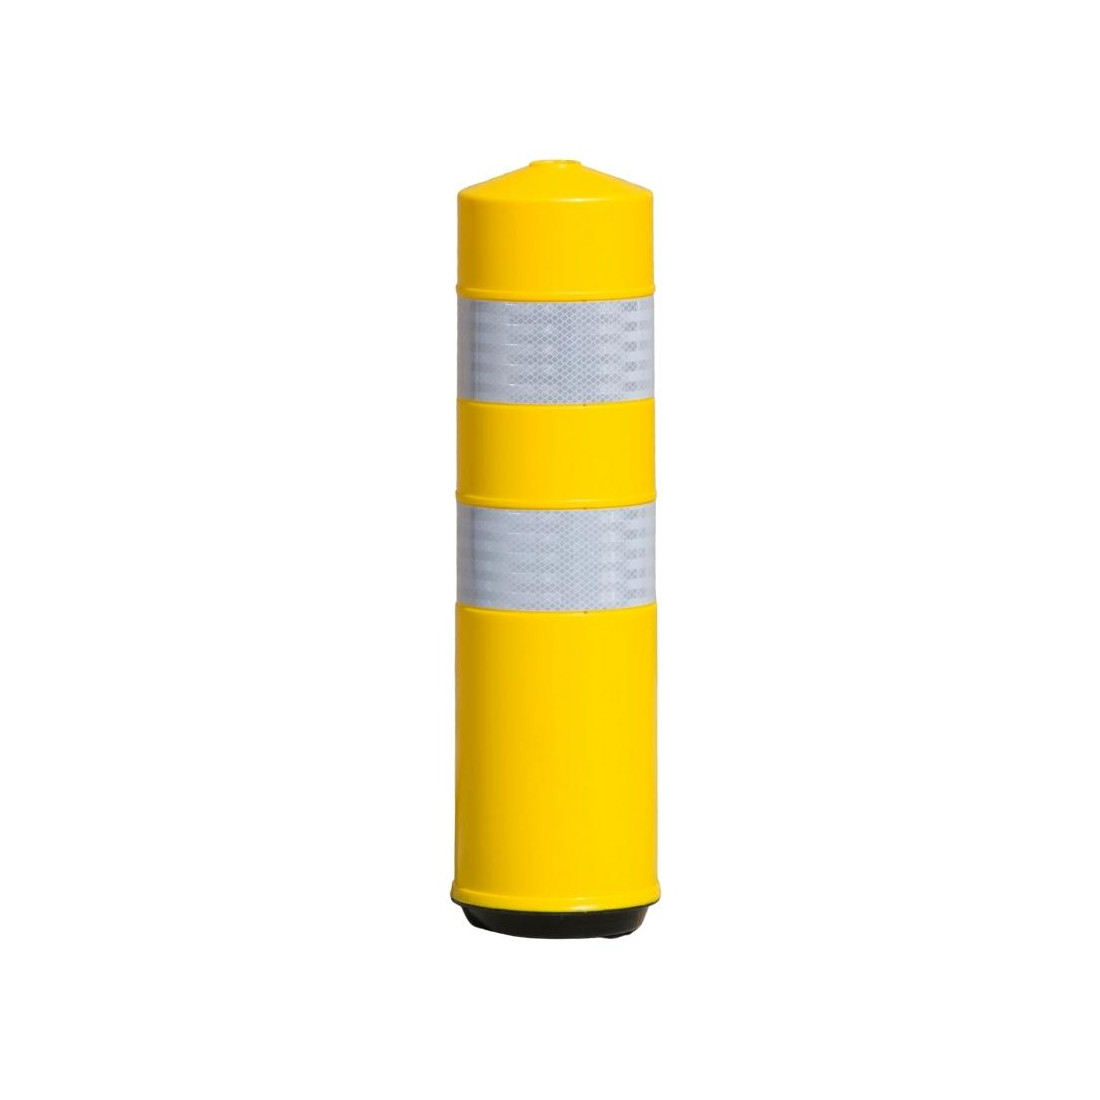
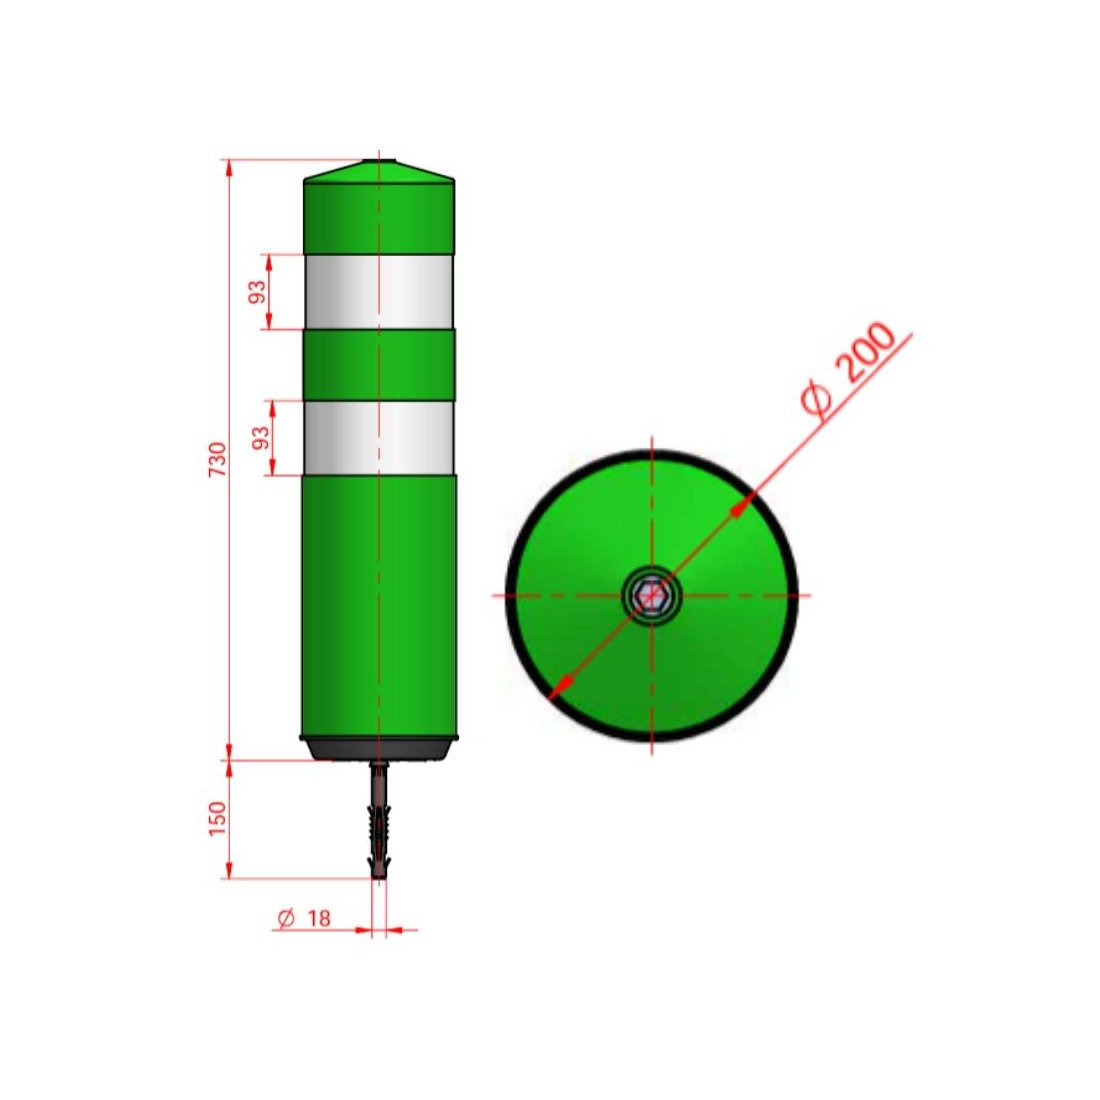
Dimensions: 730 x Ø 200 mm
Material: Elastomer with EVA rubber
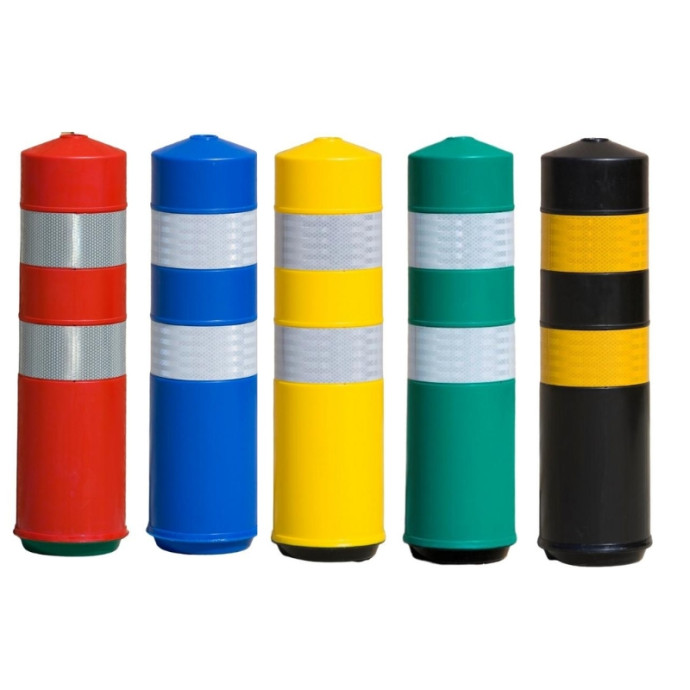
Color: Yellow with 2 white reflective bands level 2
Attachment by 1 supplied plug and screw.
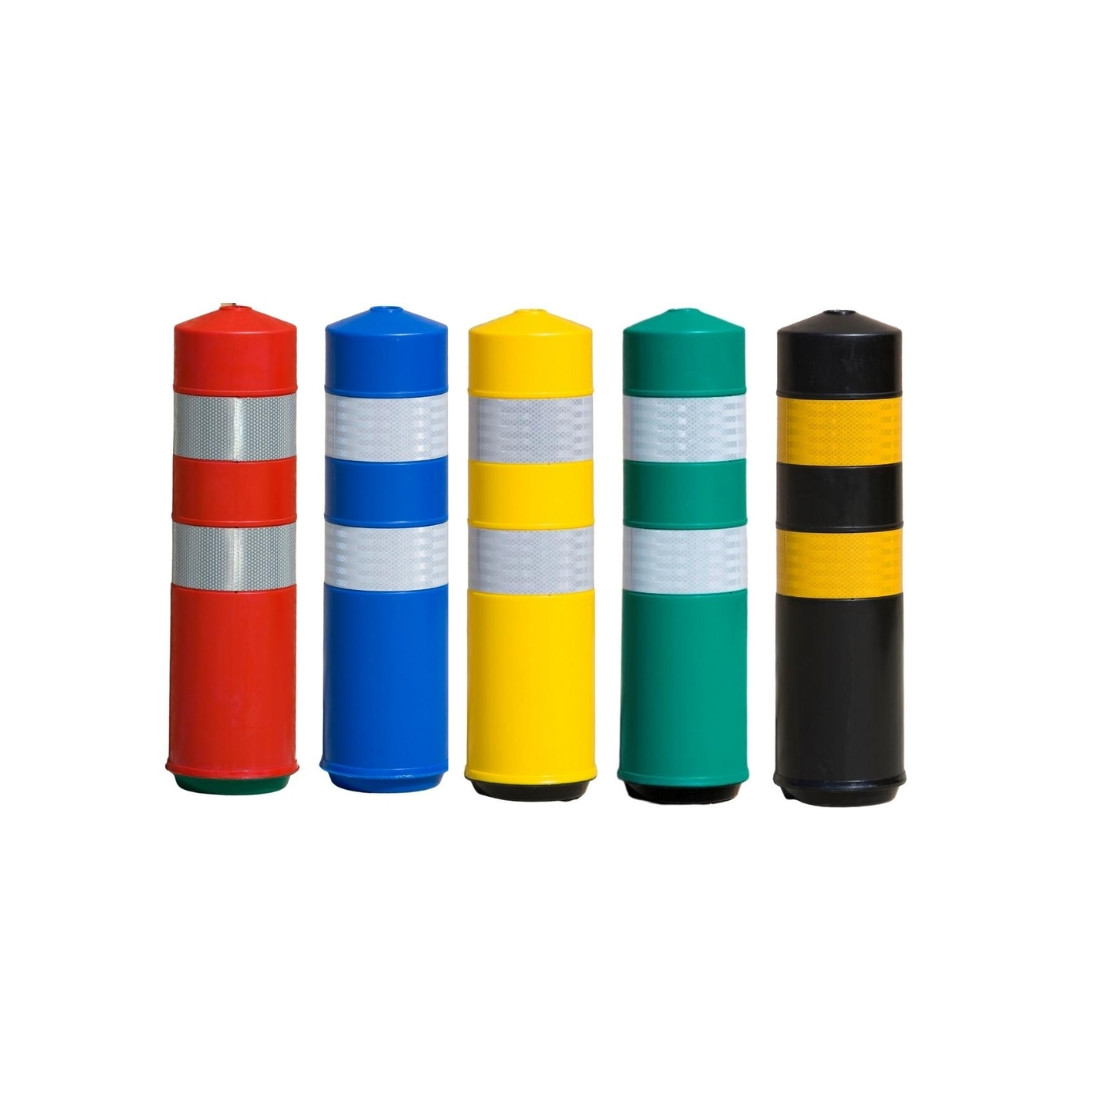
Also available in the following colors:
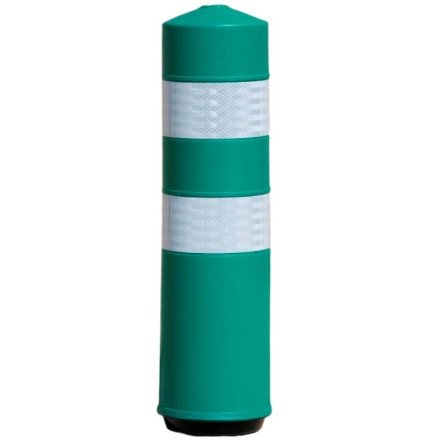
- Ref. 302-0022VE Green
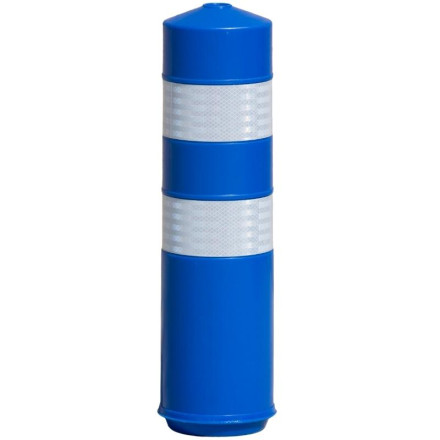
- Ref. 302-0022AZ Blue
- Ref. 302-0022RO Red
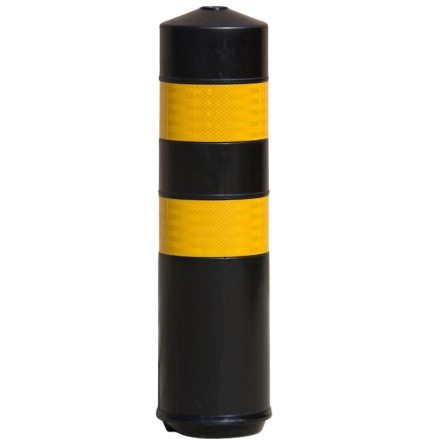
- Ref. 302-0022NE Black
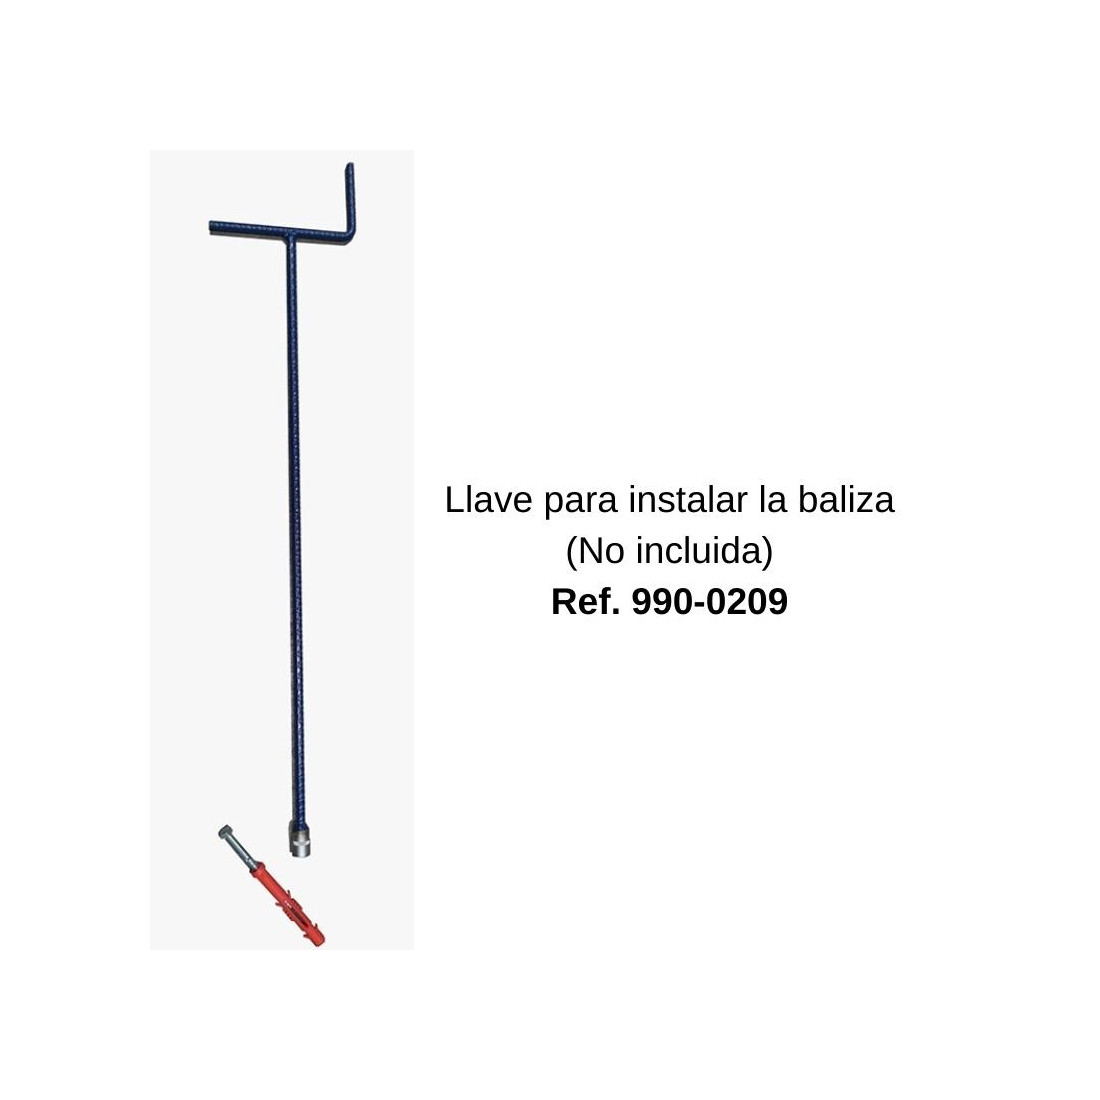
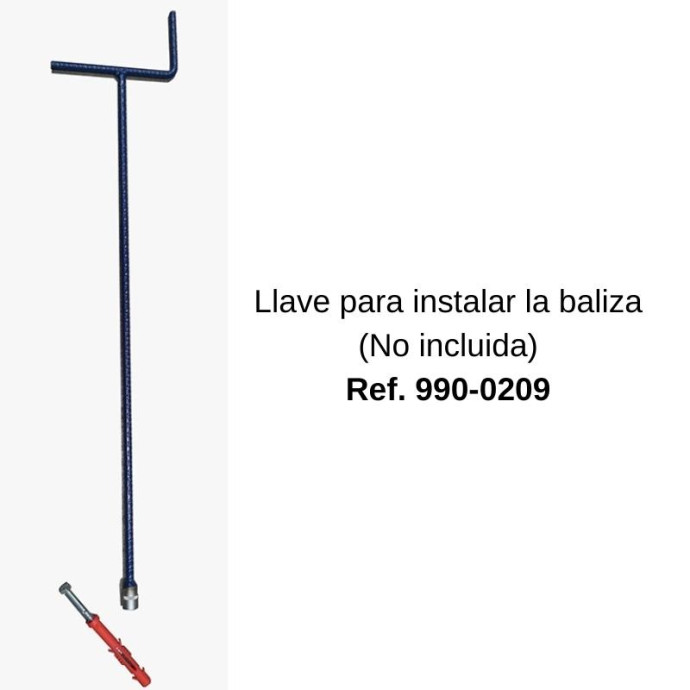
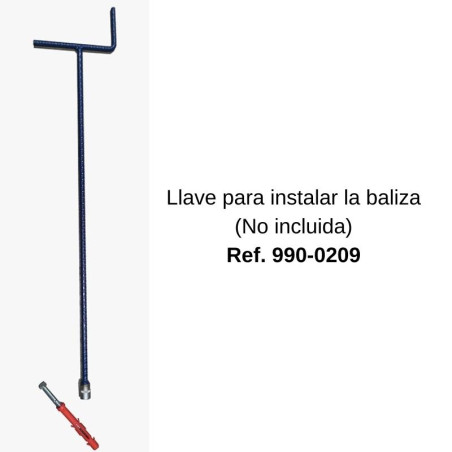
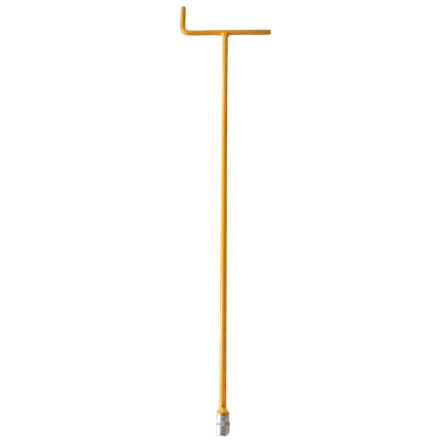
If a tool is needed for installation, use reference 990-0209.
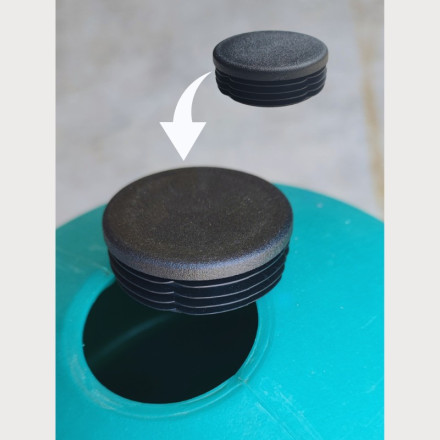
There is also a black cap available for the beacons (Ref. 990-0040)
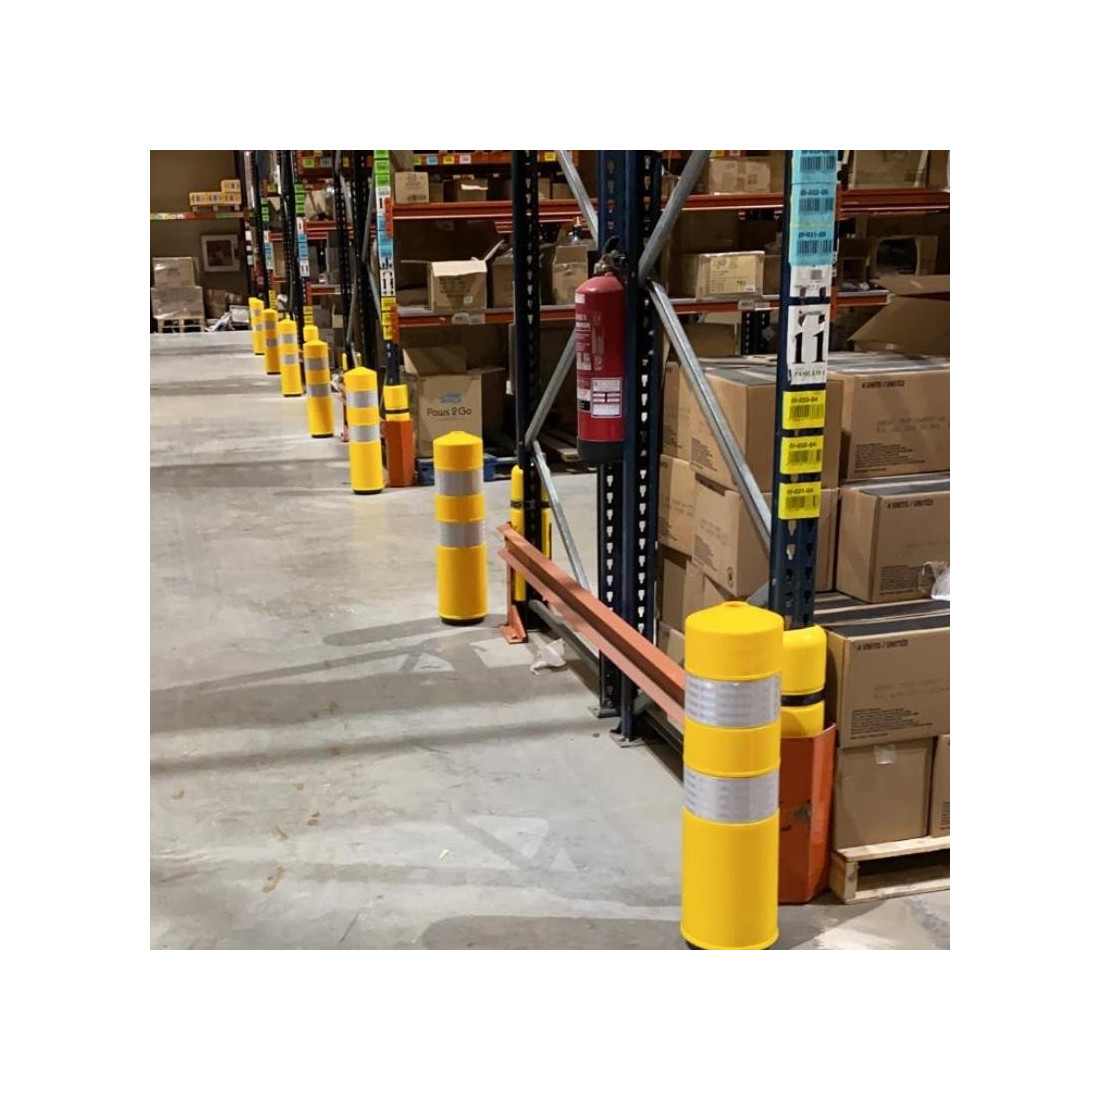
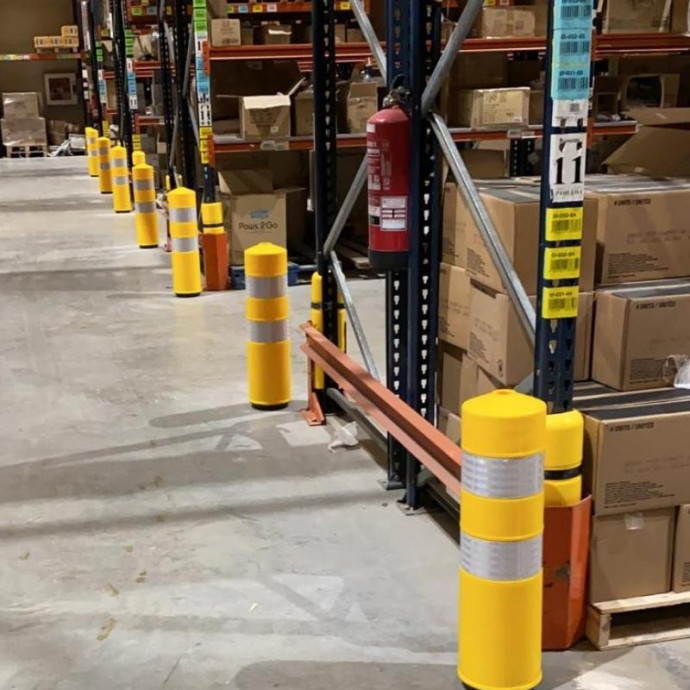
High-quality bollard. Performs well outdoors, in marine environments, against chemical agents and impacts.
Requires no maintenance.
Its two reflective bands are Level II and make it highly visible both day and night. Resistant to being run over.
Complies with UNE 135-363 standard
Very easy to install using a screw between the base of the bollard and the ground. Includes anchor and screw for ground fixation.
Made of elastomer specially stabilized to light. It has two perimeter reflective bands with their ends mechanically fixed for optimal film permanence. Its conical base, protected by an indeformable plate, facilitates the folding of the bollard without tears or permanent deformations.
An 18 mm diameter x 160 mm deep hole made in the pavement is all that is needed for its installation, which, when done correctly, guarantees a long stay in its location, resistant to repeated impacts and run-overs.
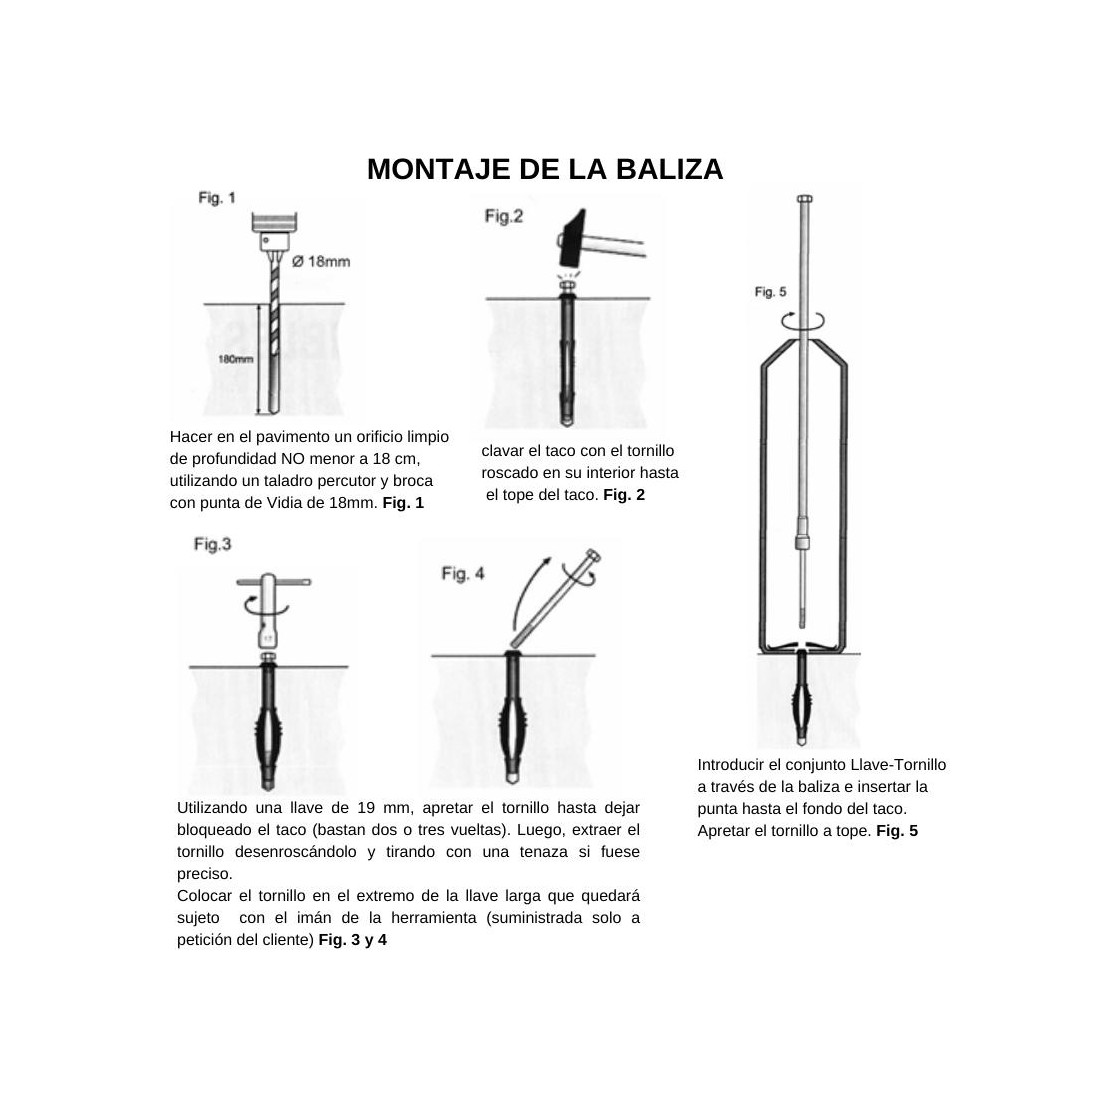
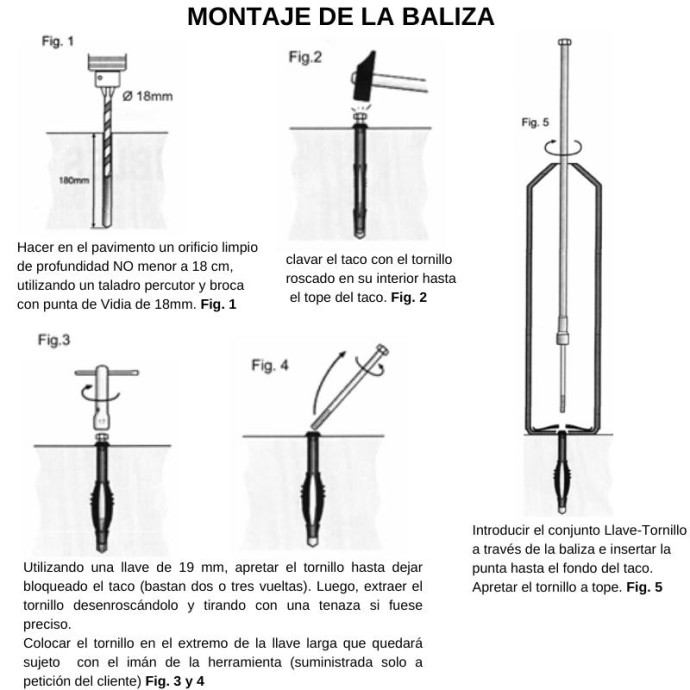
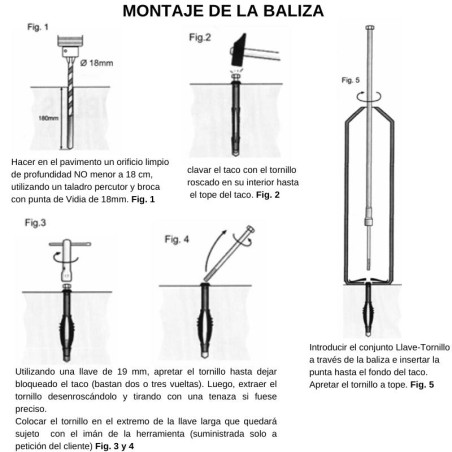
BOUARD INSTALLATION
1.- Make a clean hole in the pavement with a depth of NOT less than 18cm, using a hammer drill and a 18mm carbide-tipped drill bit
2.- With a hammer, drive the anchor with the threaded screw inside it until the anchor is flush
3.- Using a 19mm wrench, tighten the screw until the anchor is locked (two or three turns are enough). Then, remove the screw by unscrewing it and pulling with pliers if necessary
4.- Place the screw at the end of the long wrench that will be held by the tool's magnet (supplied only upon customer request).
5.- Insert the Wrench-Screw assembly through the bollard and insert the tip all the way into the anchor
6.- Tighten the screw all the way
You might also like